When you insert a WordPress gallery into your blog post, it gets rendered in native WordPress gallery mode. In particular, each of the photos in your gallery gets rendered as a thumbnail, and clicking on the thumbnail will connect you to the photo source file, or the photo attachment page.
Here is an example WordPress native gallery-


Sometimes, however, you may want to render your photo gallery with your own layout and style. Below is the same gallery rendered using the Galleria javascript library and the Shiba Gallery Plugin.
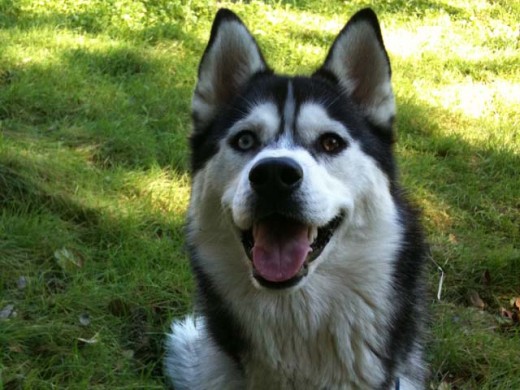 Siberian Husky smile.
 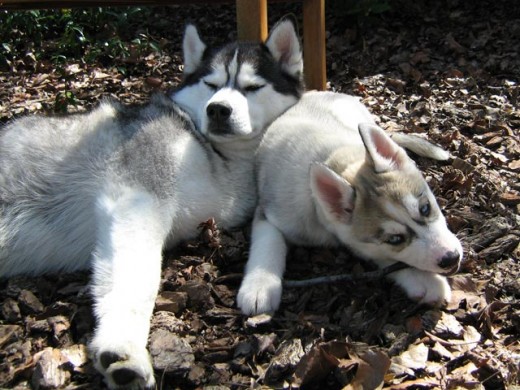 Big Husky and Little Husky.
 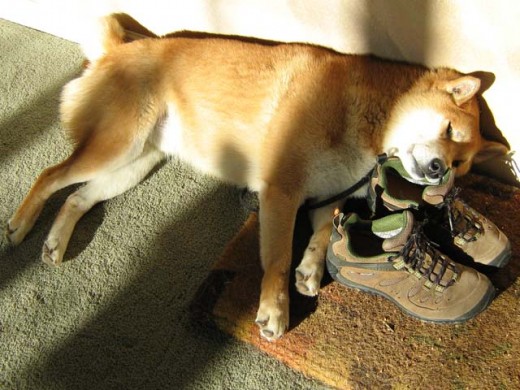 Shiba Inu and his shoe pillow.
 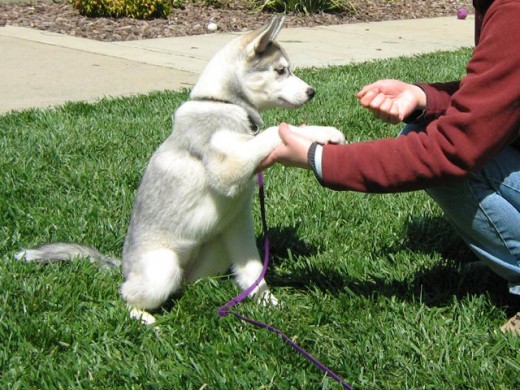 Dog handshake.
 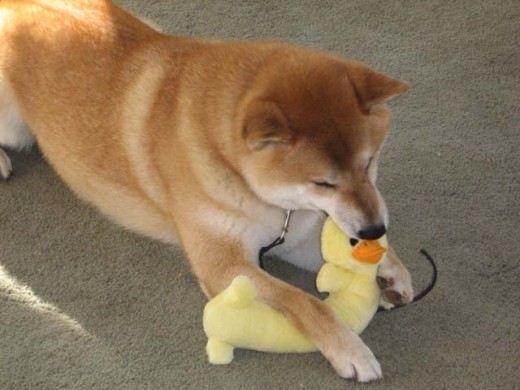 Shiba Inu and duck toy.
  Shiba and Husky playing in the grass.
 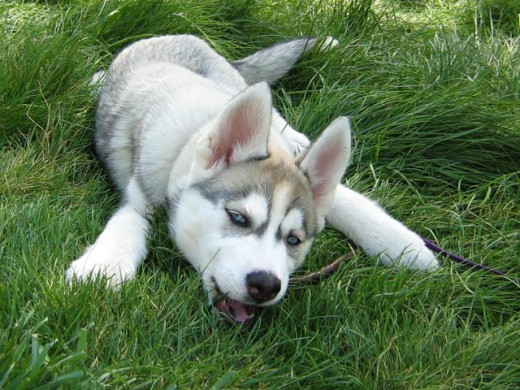 Husky puppy on the green, green, grass of home.
 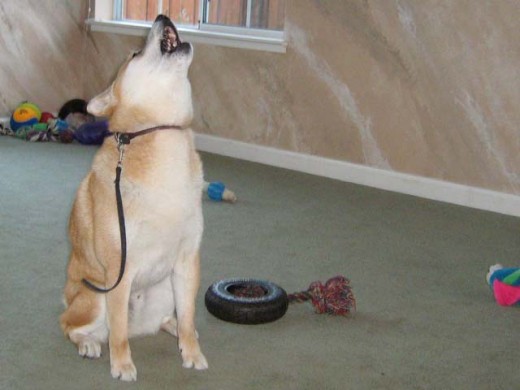 Shiba Inu singing for his supper.
 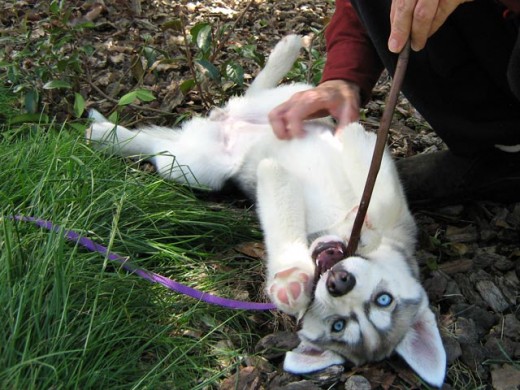 Husky puppy playing with a stick.
 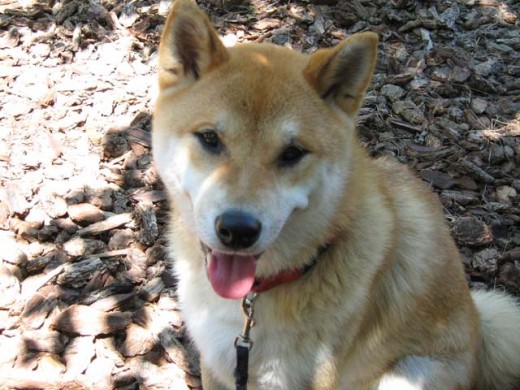 Shiba Inu smile.
A good way to render your WordPress galleries in your own layout and style, is through a WordPress plugin.
1. Create a WordPress Plugin
WordPress plugins reside in the wp-content/plugins directory of your WordPress blog installation. To create a plugin –
- Choose a unique plugin name. No two plugins can have the same name, so pick a unique name. This is especially important if you want to submit your plugin to the WordPress Plugin Directory.
- Create a directory for your plugin in the wp-content/plugins directory using your plugin name.
- Create a PHP file within your plugin directory using the same name.
- Insert the following code at the start of your main plugin file.
/*
Plugin Name: plugin_name
Plugin URI: http://your-plugin-url
Description: Your WordPress Gallery Plugin description.
Version: 1.0
Author: Your Name
Author URI: http://your-home-url
*/
Congratulations! You have just created a plugin.
If you go into the Plugins screen on your WordPress Dashboard, your new plugin should be listed there. Currently, however, it is just an empty plugin and does not do anything yet.
Here are more detailed instructions from WordPress on how to create a plugin.
2. Replace the Native WordPress Gallery Function
To render our own photo gallery, we first replace the WordPress native gallery function with our own gallery drawing function. Add the code below to your main plugin file.
<?php
remove_shortcode('gallery');
add_shortcode('gallery', 'parse_gallery_shortcode');
?>
This will tie your WordPress galleries to a new rendering function, namely parse_gallery_shortcode.
3. Define Your New Gallery Rendering Function
Now we just need to define our new gallery rendering function.
The parse_gallery_shortcode function gets handed an array by the WordPress system that contains a list of gallery options. Here are the basic gallery options supported by WordPress.
NOTE – As outlined in the gallery shortcode page, there was a significant change in media workflow since WordPress 3.5. This was because the new media manager interface allows for individual images to be selected and ordered, thereby producing a list of image ids. This is in contrast to the pre-3.5 system which required images to be attached to a parent post, and then shows all images associated with a single parent id.
Since several people have asked about this in the comments section, I have updated the code below to take into account this new change.
<?php
function parse_gallery_shortcode($atts) {

	global $post;

	if ( ! empty( $atts['ids'] ) ) {
		// 'ids' is explicitly ordered, unless you specify otherwise.
		if ( empty( $atts['orderby'] ) )
			$atts['orderby'] = 'post__in';
		$atts['include'] = $atts['ids'];
	}

	extract(shortcode_atts(array(
		'orderby' => 'menu_order ASC, ID ASC',
		'include' => '',
		'id' => $post->ID,
		'itemtag' => 'dl',
		'icontag' => 'dt',
		'captiontag' => 'dd',
		'columns' => 3,
		'size' => 'medium',
		'link' => 'file'	), $atts));


	$args = array(
		'post_type' => 'attachment',
		'post_status' => 'inherit',
		'post_mime_type' => 'image',
		'orderby' => $orderby
	);

	if ( !empty($include) )
		$args['include'] = $include;
	else {
		$args['post_parent'] = $id;
		$args['numberposts'] = -1;
	}

	$images = get_posts($args);

	foreach ( $images as $image ) {
		$caption = $image->post_excerpt;

		$description = $image->post_content;
		if($description == '') $description = $image->post_title;

        $image_alt = get_post_meta($image->ID,'_wp_attachment_image_alt', true);

        // render your gallery here
        echo wp_get_attachment_image($image->ID, $size);
	}
}
?>
Lines 6-11 – Check if we are using a list of ids (new media flow). If so, put the relevant data in the proper attribute elements.
Lines 13-23 – Extract the current gallery options. Here, we can specify default values for any gallery option that is left undefined by the user. To add a new gallery option, simply add it to the shortcode_atts array.
The extract WordPress function will then put its results into local variables named after each of the gallery options. For example, $id will contain the gallery id, $size will contain the gallery size and so on.
Lines 26-31 – Once we have extracted all the relevant gallery options, we can retrieve all the images or photos from the relevant WordPress gallery using the WordPress get_posts function. Here, we prepare the arguments for our get_posts query to search for images.
Lines 33-38 – If we are using the new id-list system, we enter the list of ids into the ‘include’ argument. Otherwise, we use the old system which extracts images based on parent-id (‘post_parent’ argument).
Line 40 – Call the get_posts function to retrieve the relevant set of images.
Lines 42-52 – Render the images in the WordPress gallery according to your own layout and style.
Note – that there are four pieces of text associated with each WordPress image – title, alternate text, caption, and description. You can change these by going into Media >> Library, and editing the relevant image.
Titles get stored in the post_title attribute of the image object.
Captions get stored in the post_excerpt attribute of the image object.
Descriptions get stored in the post_content attribute of the image object.
Alternate text gets stored as meta data associated with the image object.
The wp_get_attachment_image function on line 51 returns a HTML image element.
Depending on your needs, you may also want to consider using –
- wp_get_attachment_image_src, which retrieves the source image url, as well as the width and height of the image, or
- wp_get_attachment_link, which returns a HTML hyperlink for an image, based on a list of options.
Finally, insert the HTML code for structuring and styling each of the photos in your WordPress gallery and you are done!
Hey I don’t mean to criticize but your code is really not doing the right thing. Firstly as some other comments shared, you are pulling all attachments inside the post, not just from that gallery. The other problem with doing this is the function will no longer respects the order by which the images were set up in the gallery; it is passed as $atts to the shortcode function but disregarded completely.
This is an older article, written before the 3.5 update where individual image ids are specified, rather than using the parent-attach system. Refer to http://codex.wordpress.org/Gallery_Shortcode for a summary of shortcode history and the old vs. new media flow.
ADD: I have just updated the article above to handle id lists.
Hi,
thanks for the tips.
However i’ve a problem. i’have multiple gallery in a post, and with your code, each gallery display all attachment image to the post.
How to only have the images that are in each gallery ?
thanks
Hi,
I just need a line of code to write instead of your “render your gallery here” only to publish the images, but I can’t understand which variable to use!
I’m not so good with PHP…
Can you please help?
Question; after doing all of this I still cannot scroll through my photos that are in my gallery. There is no “next” button. When I click on an image it just loads that one image and I have to click the back button and find where I was in the gallery to click on the next one. Is there an easy way to fix this?
Thanks
I used this code to create a gallery. But now I found out that if a user changes the images in the gallery from within the editor the changes are not respected anymore – for example: when I delete one image from the gallery and I look at the post I still see this image. It seems that the images are kept as attachments of the post. As your code uses the attachments of the post and not really the ids from within the shortcode (where the image’s id is deleted correctly) this issue appears. Is there any other way to change the output code of the gallery using the correct images?
Great info! Tutorials like this tend to be far in between or not available at all it seems so thanks for taking the time to share…
Just one question:
Is it possible to have “multiple” formatting versions with this method?
ie. Pages display galleries as only medium sized thumbnails, while posts maybe have something like a series of smaller thumbs that act as pagination to for one larger image that changes such as your example????
Thanks
Yeah should be able to do that by checking the post_type of the global $post in parse_gallery_shortcode and then rendering accordingly.
Thats good news! Any possibility you might be able show an example? Thanks again for the help =)
Also if you dont have time to give an example, may I ask which template file in your plugin I should examine to see how to go about scripting my own html to be outputted from the custom gallery?
I am about to release a new version of the plugin that allows you to just hook into a filter to change the gallery default values. Just have to do a bit more testing.
Sounds awesome, looking forward to when its released!
That said, if you have a moment I would love some insight as to how to go about adding multiple gallery markups to the function 🙂
Released here –
http://shibashake.com/wordpress-theme/shiba-gallery-3-7
There is example code at the end to change gallery type based on post or page.
Thank you so much! I will check this out ASAP!
Ok, I see what youve done in your example…
What Id like to do however is script out my own version of your plugin essentially that uses the Slides plugin (http://slidesjs.com/) instead. Id like to output different styles of galleries all utilizing this plugin though.
In your original example of how to render your own gallery you left out how to input your own HTML markup – thats the part Im hung up on at the moment 🙁
Your plugin looks great but it doesnt suite my needs for my project unfortunately so I need to build my own…that said, Im still learning how to hijack WordPress’ native gallery and render my own so a more detailed example of how that can be done is what Im looking for.
If you dont have the time to script something like that out I fully understand and I appreciate the time youve already offered me…If you even might have some good links for me to reference to help grasp this topic that would be a huge help as well!
Best,
Shaun
You need to put all the HTML code into a PHP string, and then just return the string.
Are you familiar with PHP? You will need some of that to get the syntax right and to put in the proper image variables at the right place.
For a simple example, check out shiba-native.php or shiba-navlist.php in the Shiba Gallery plugin.
The [gallery] syntax is a shortcode, so it may also be useful to check out the shortcode API on the WP codex-
http://codex.wordpress.org/Shortcode_API
Good luck!
Hey there, I’ve added this to my functions file but it’s moved the gallery to the top of the post. Would you happen to know why? I thought it may be because this function echos rather then returns a result?
cheers,
I can confirm that this is the case! Add all the values to a variable, rather then echoing and then return the value
This will only work on .org (i.e., on a self-hosted website).
wordpress.com does not allow plugins
http://en.support.wordpress.com/plugins/
Wow, great info, this may be the answer I was looking for.
Will this work in the wordpress.org or only in wordpress.com that has the gallery option?