Genesis skins allows you to flexibly create and assign skins to different posts, pages, or other custom post types. We can assign skins to an individual post or to groups of posts through the use of categories and tags.
Skins are created through a graphical UI based on the WordPress theme previewer interface, therefore no special CSS, HTML, or PHP editing is required.
[Full description of the Genesis Skins theme]
Note: Genesis Skins is built on top of the Genesis Framework. It will only work if the Genesis parent theme is installed.
Main updates for this release –
1. Structured Markup Using HTML5
The most exciting feature is in integrating the HTML5 markup language enabled through Genesis 2.0. This allows search engines to better understand and parse our blog pages. For example, you can view the structured data added to this page by using the Google Structured Data Testing Tool.

2. Added Menubar Options
Choose between three different menubar styles –
- Dark – This is the default menubar style of Genesis 2.0.
- Light – A light gray menubar style.
- Background – Menubar color changes based on the chosen skin color of our blog.
In addition, we also added a collapsible menubar option for mobile devices. This is a blog-wide option that can be set in the Genesis Skins >> Settings screen. The collapsible option allows us to save mobile viewing space by collapsing all menubar entries into a single button. Clicking on the button toggles opening and closing of the menubar.


This function was coded using the styles and procedures outlined here.
3. Mobile Responsive Poll Daddy Objects
Added some styles to make standard Poll Daddy objects mobile responsive. You can test out some example poll objects here.
Here is a tutorial on how to make Poll Daddy objects mobile responsive in your own theme.


4. Added Open Border Option
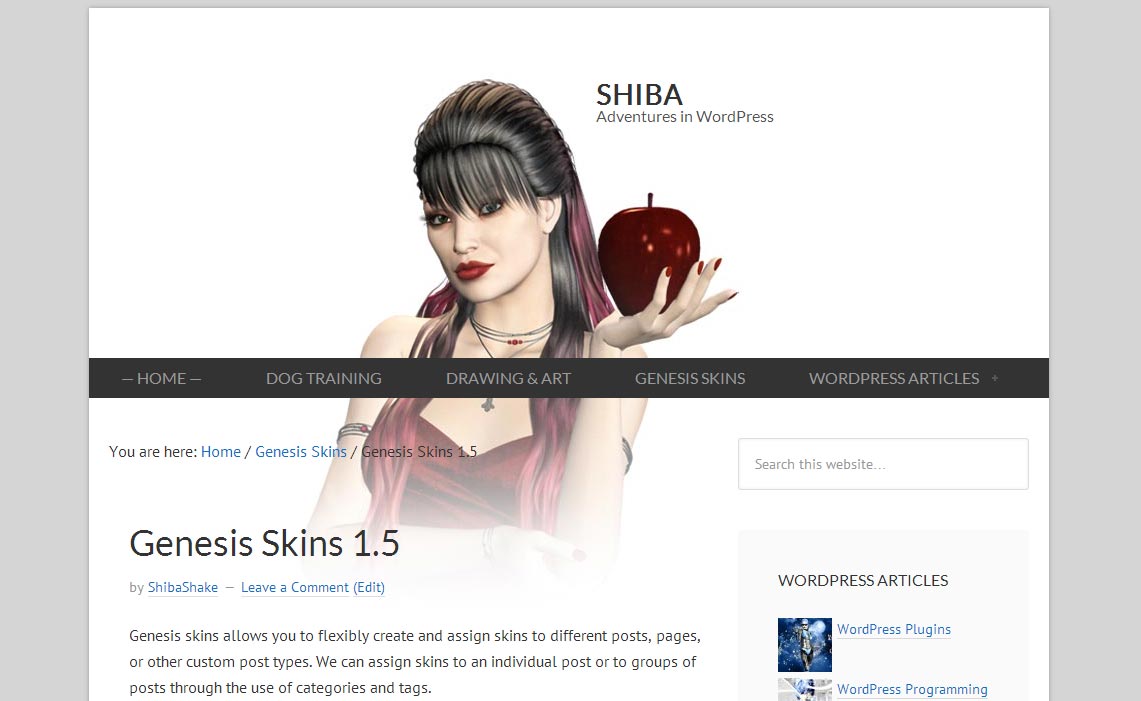
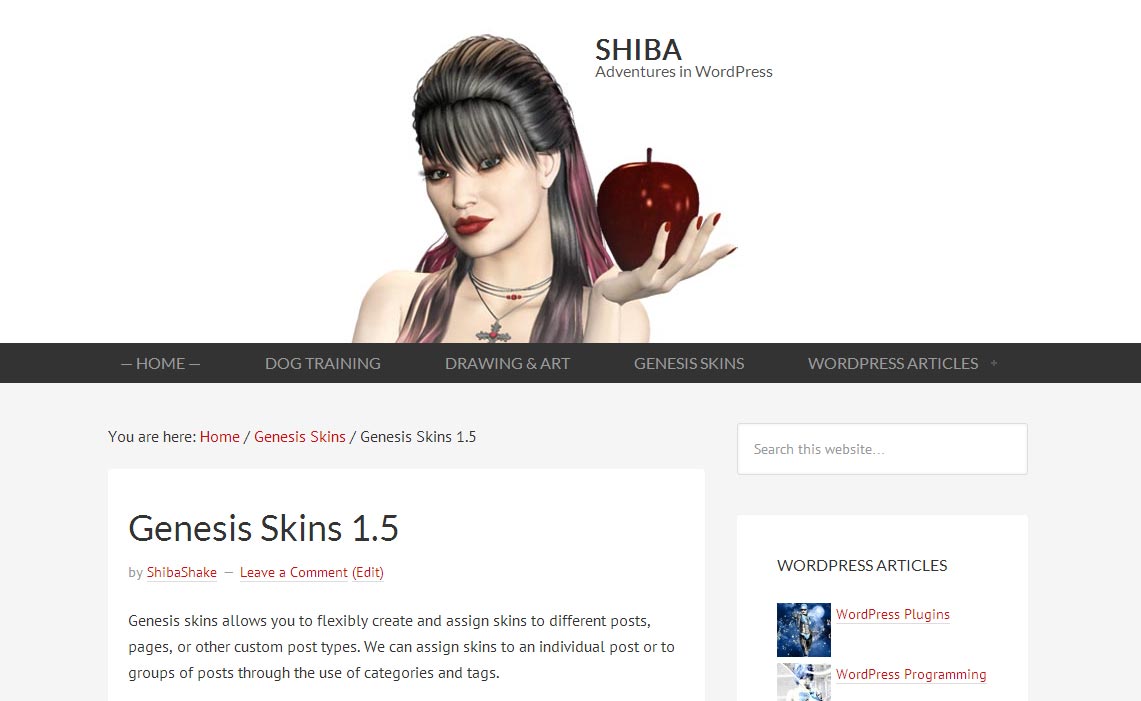
The default style for Genesis 2.0 is more open and flowing, with no page borders. The body of the blog page is still fixed width, but the header and footer extends to fill the entire width of the browser. For example, this page features a skin with open borders, while other pages on this blog have a closed border design.
Page border options can be assigned on a skin by skin basis.


5. Uses New Genesis 2.0 Style Sheet
The new Genesis 2.0 style sheet is much more compact and much cleaner. It took some work to properly integrate it into Genesis Skins, but I really like the results.
Note however, that there will be some style changes from previous versions. Probably the most noticeable one has to do with link styles. All links now have a light bottom border, which I think is an enhancement and makes them more easily identifiable.
As before, I have integrated widget, button, and menubar styles from Genesis 1.8. We can easily switch between Genesis 1.8 and Genesis 2.0 styles by going into Genesis Skins >> Settings.
This page uses the simpler Genesis 2.0 widgets, buttons, and menubar styles. For an example of Genesis 1.8 styles, visit this page.